


Tanks & Aquariums<Top Fin ® Infinity Edge Waterfall Tank
$57.99
DescriptionTake A Deep Breath And You’Ll Find A Temporary Escape From Your Fast-Paced Life With The Soothing Sound Of Fl…

Description
Take A Deep Breath And You’Ll Find A Temporary Escape From Your Fast-Paced Life With The Soothing Sound Of Flowing Water Coming From This Top Fin Infinity Edge Waterfall Tank. Watch As Your Aquarium Water Gently Overflows Into The Basin Below, Creating A Delicate Waterfall Draping Across The Front Of The Tank. It’S A Stunning Focal Point In Any Room, Especially With Your Choice Of Blue Glow Or Bright White Light Effects. Only At Petsmart.
Features:
Includes:
Intended Pet(S): Fish
Material(S): Glass
Color: Black, Clear
Product Dimensions: 20.8 In L X 13.2 In W X 17.7 In H (52.8 X 33.4 X 44.1 Cm)
Capacity: 10 U.S. Gallons (37.8 L)
Instruction Manual:
Please Click Here To Access Instruction Manual.
Advice For Use:
Consult A Pet-Care Guide For The Appropriate Size And Number Of Fish. Do Not Overcrowd The Tank.
Set-Up Instructions:
Read All Instructions Included Inside The Packaging Before Setting Up Your Aquarium.
Operating Instructions:
1. Open The Package And Check If There Are Any Obvious Defects In The Appearance Of The Fish Tank.
2. Consider Where You Are Going To Place The Aquarium. Keep It Away From Direct Light Areas With Large Temperature Fluctuations.
3. Place The Aquarium On A Flat, Level Surface Strong Enough To Support Its Weight. Check Out Top Fin Aquarium Stands In-Store Or Online.
4. Thoroughly Rinse Aquarium, Gravel And Decor With Water. Do Not Use Soap Or Detergent As They May Harm Fish.
5. Place The Rinsed Grovel Into The Tank And Then Set Up Your Desired Ornaments And Plants.
6. Carefully Fill The Tank With Water, Making Sure Not To Disturb The Gravel And Dã©Cor.
7. The Water Depth Of The Fish Tank Must Exceed The Lowest Water Mark On The Debris Grate In The Tank’S Basin.
8. Use The Proper Water Conditioner To Remove Harmful Chlorine And Chloramines From Tap Water. Do Not Introduce Fish Into Your Tank Immediately. Let Water Sit For 24 Hours Before Introducing Your Fish. Follow The Water Conditioner Instructions To Make Sure That The Water Is Safe For Fish Before Introducing Fish Into The Tank.
Lighting Settings:
Leveling Adjustment Steps:
Step 1. Place The Tank On An Aquarium Stand Or Flat, Level Surface, And Place The Bubble Leveler In The Middle Of The Front Of The Tank Lid.
Step 2: If The Bubble Is Not Between The Two Scale Lines, And It Shifts To The Left Or Right, It Means That The Tank Is Not Placed Completely And Horizontally Flat.
Step 3: Open The Two Decorative Covers On The Left Side Of The Base To Expose The Adjustable Legs.
Step 4: Twist Each Leg To Level Tank. Turn Counterclockwise To Lower, And Clockwise To Raise It. You Can Also Use The Included Wrench To Help Adjust Until Tank Is Perfectly Level. Note : Both, Legs Should Be Adjusted To The Sameheight.
Step 5: After Adding Water To The Tank, If You Find That The Waterfall Falls To One Side, Please Adjust According To Steps 3 And 4 To Level The Waterfall, And Ensure The Water Flaw Is Spread Across The Entire Front Glass Panel.
Step 6: After Adjusting The Front Level, Place The Leveler On The Top Left Side To Check That The Front And Bock Of Aquarium Is Level. If Not, Adjust According To Step 4.
Step 7: When The Tank Is Set Up, Running, And Fully Leveled: If You Find That There Is A Gap In The Middle Of The Waterfall Effect Caused By Surface Tension, Wipe Down The Top Edge And Front Surface With A Soft Paper Towel Or Cloth. Running Your Finger Along The Top Edge Of The Glass Can Also Help To Spread The Water Flow. After 2-3 Days The Tension Will Gradually Disappear And The Surface Will Remain Fully Covered In Water.
To Clean The Transparent Outlet Pipe:
To Clean The Water Outlet Pipe, You Must Turn The Pump Off Before Removing The Outlet This Will Prevent Water From Shooting Out Straight Into The Air.
When Cleaning The Transparent Water Outlet Pipe, First Rotate The Water Outlet Counterclockwise. Pull It Out, And Then Use The Included Brush To Extend It Away From The Outlet Pipe Hole For Cleaning. Reinstall The Water Outlet Into Its Original Position After Cleaning Is Complete.
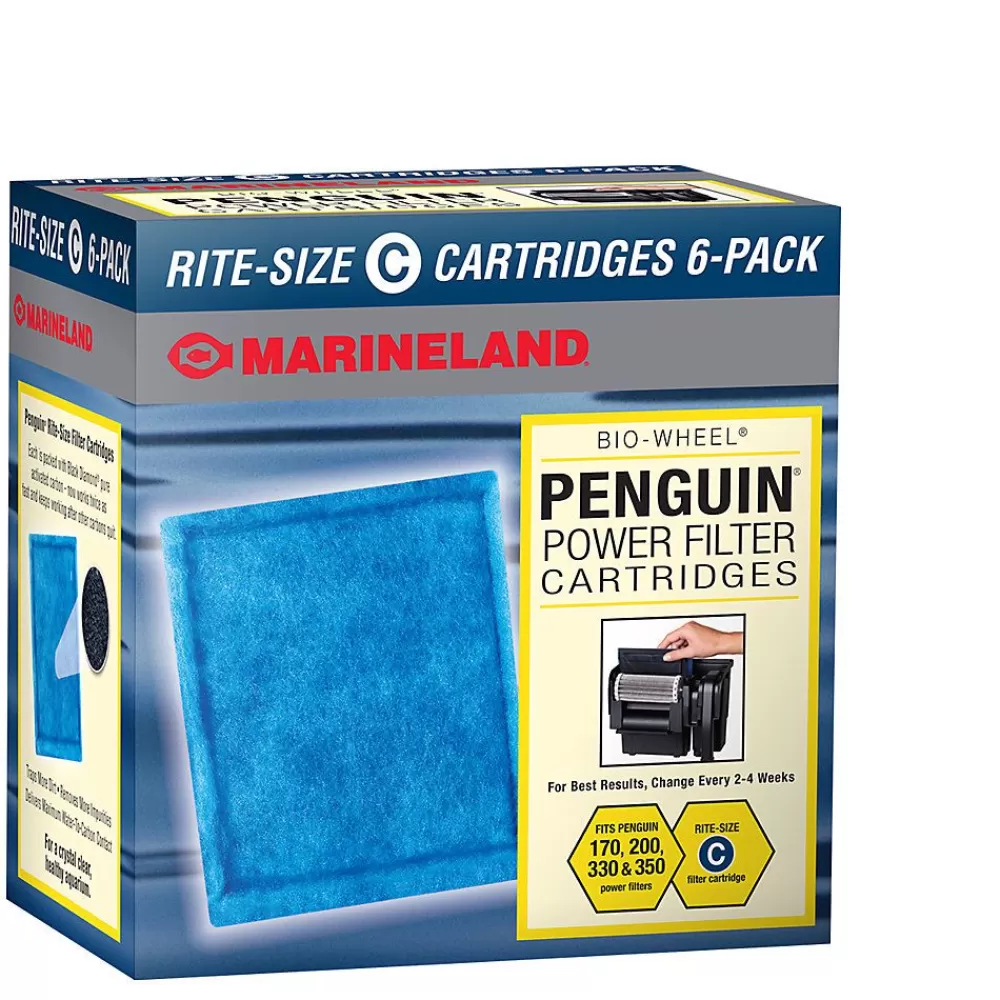
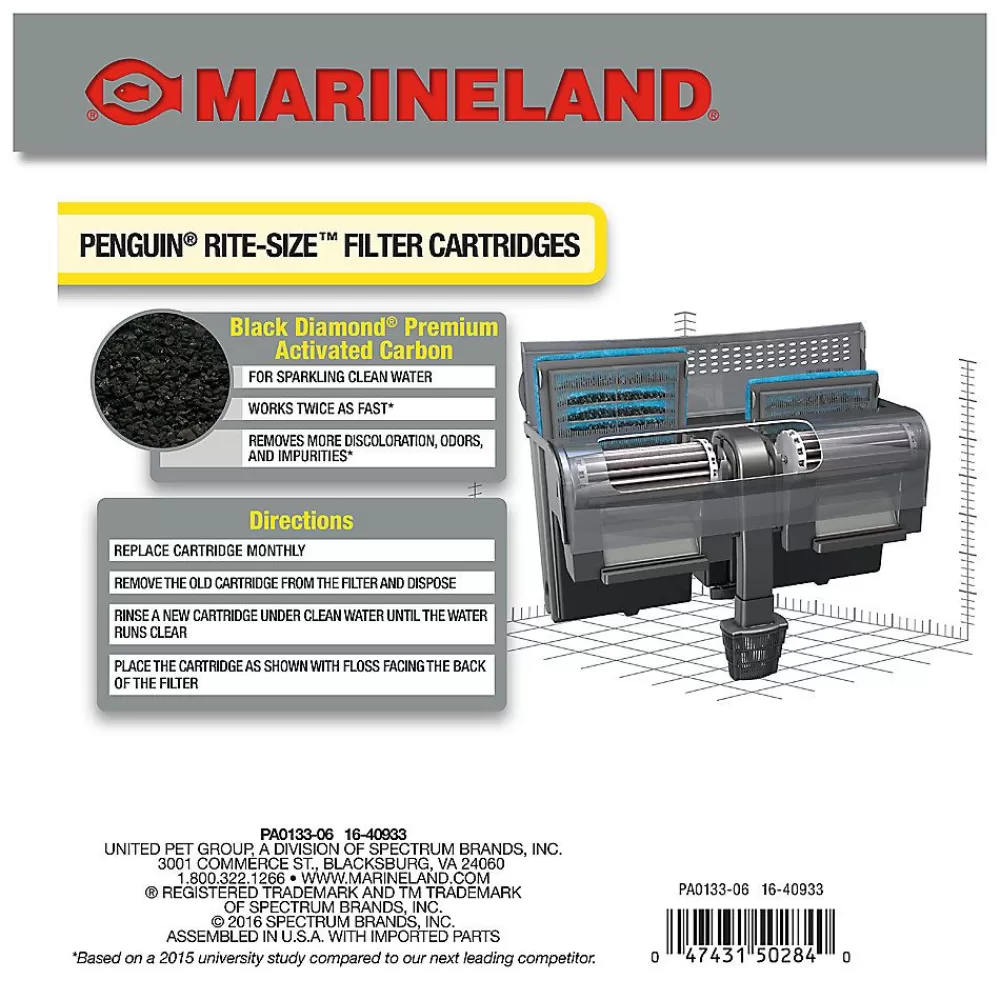
To Replace Filter Cartridge:
When Replacing The Filter Cartridge, Open The Cartridge Cover. Pull Out Cartridge From Its Slot And Replace With New One. Reinstall Cartridge Cover. Make Sure To Follow All Instructions Located On The Cortridge1S Packaging To Ensure Appropriate Use.
Pump Installation:
Vertically Place Water Pump Into Its Housing, Making Sure That The Stop Knob Above The Pump Is Parallel Ta The Main Body Of The Pump. Align The Water Outlet With The Hole Located In The Side Of The Tank. Insert, And Twist Stop Knob To Tighten. Ensure Everything Is Firmly Connected To Prevent The Water Pump Fromshifting While In Use. To Disassemble. Turn Stop Knob In The Opposite Direction And Pull Out The Water Pump. Important: Make Sure The Rubber Sleeve Is Firmly Attached To The Stop Knob.
Important Notes:
Troubleshooting:
Problem 1: If Your Filter Fails To Pump Water After The Filter Is Plugged In.
Solution: Check Whether The Power Plug Of The Water Pump Is Properly Inserted. 2. Check If There Is Anything Stuck In The Water Pump, And Clean The Water Pump.
Problem 2: The Led Light Does Not Light Up.
Solution: Please Check Whether The Dc Plug And The Power Socket Are Properly Plugged In, And Whether The Line Switch Is Turned On.
Problem 3: If The Waterfall Falls To One Side.
Solution: Adjust Basin Legs Until Level. See “Leveling Adjustment Steps” In This Manual For More Information.
Problem 4: The Pump Works But The Waterfall Isn’T Showing Up.
Solution: Check Whether The Water In The Basin Is Below The Lowest Water Level Mark And Whether The Pump Stop Knob Is Screwed In The Correct Position.
Problem 5: My Pump Is Really Loud.
Solution: Ensure Basin Is Filled With Water To The Max. Fill Line.
Problem 6: My Waterfall Has A Lot Of Distortion And Isn’T Flowing Evenly.
Solution: Clean The Inside And Outside Of The Front Glass Panel Of The Tank With Wa
Be the first to review “Tanks & Aquariums<Top Fin ® Infinity Edge Waterfall Tank”
Related products
Reviews
There are no reviews yet.